To schedule a new job for a customer you will want to first navigate to the blue button marked “+ Schedule Work” at the top of the page.

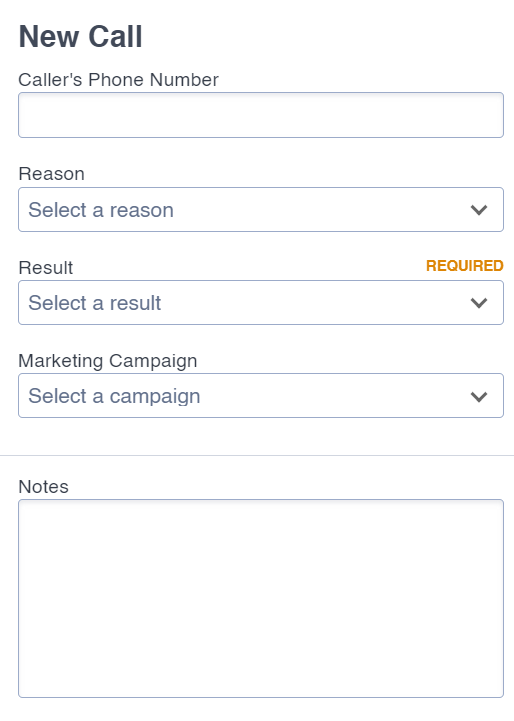
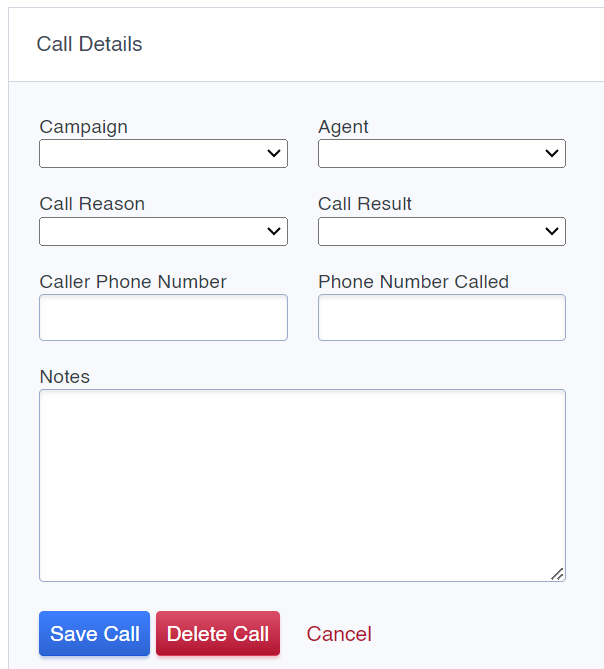
Once you have clicked the Schedule Work button you will enter the details of the call with the customer. Here you will enter the caller’s phone number and the reason for their call. You will also enter the result of the call and whether it was sourced by a specific marketing campaign.
Once the call details have been entered, you will either search for a repeat customer to schedule a job or create a new customer and location for the new job.
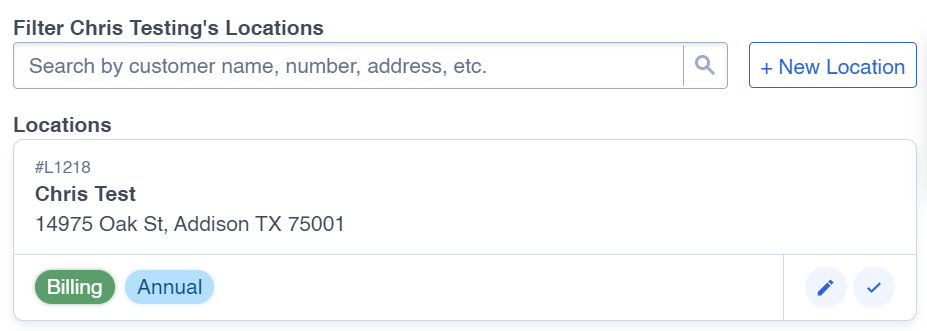
To search for a repeat customer, you will navigate over to the right side of the page and enter the customer's name, phone number, or address. Once you have entered the customer information, simply click the magnifying glass icon to search for an existing customer in your system.

If the customer is in your system, you will see them listed below the search bar. To set this customer as the assigned customer on the call, you will simply click the checkmark icon under their name to set them as the customer on this new job.

Once you have assigned the customer, you will next need to assign the location for service. If it is for an existing service location, you will see their location listed under the customer information after searching using their pre-existing details. Like before with the customer information, simply click the blue checkmark under the location information to assign it to this new job.
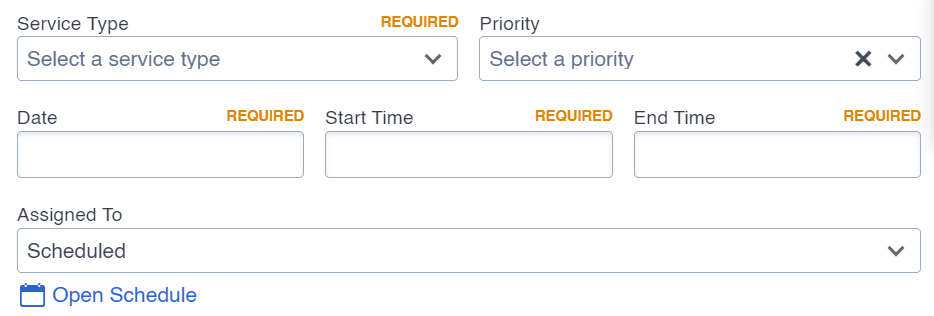
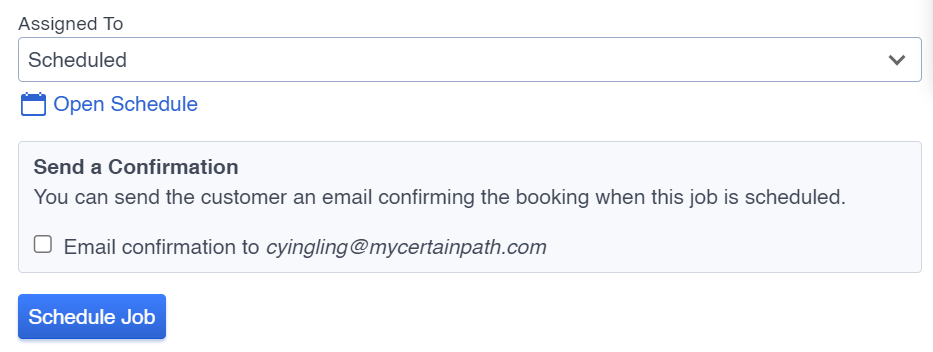
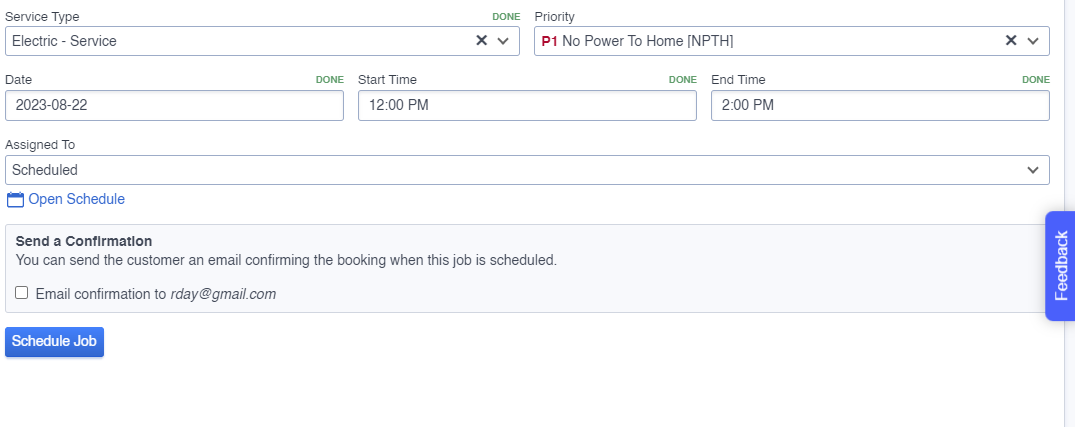
Once the call details and both the location and customer have been entered on the job, you will then enter the Job details like date and time of service and the service type and priority. Once the job details have also been entered, simply click the blue button marked “Schedule Job” to create the new job off this call.
If the customer does not exist within the system and is a new customer, you will still enter the call details but will click the button on the right side of the screen marked “+ New Customer” rather than search for an existing customer.

This will pull up a pop-up screen where you will enter the new customer details. Once you have entered the new customer details you will simply click the blue button marked “Save” to assign this new customer to your new job.

Just like with the customer information, you will click the button marked “+ New Location” to add the new location to this new job. Once the location details are entered, click save to add this new location to the job.
Once completed, you will be able to look back and reference these created calls. To access and view these calls, simply navigate to the top of the page, and click on the tab marked “Calls”.

You can navigate and search through all your created calls within the CertainPath software by utilizing the Calls tab. To access your created calls, you will first click on the tab at the top of the page marked “Calls”.

Once in the Calls area you will see a list of all your existing calls created in CertainPath as well as some filtering and search features to help you find specific calls or groups of calls. You will also see a button marked “Add Call” where you can begin the process of recording details of a call, like the process under the “Schedule Work” button.
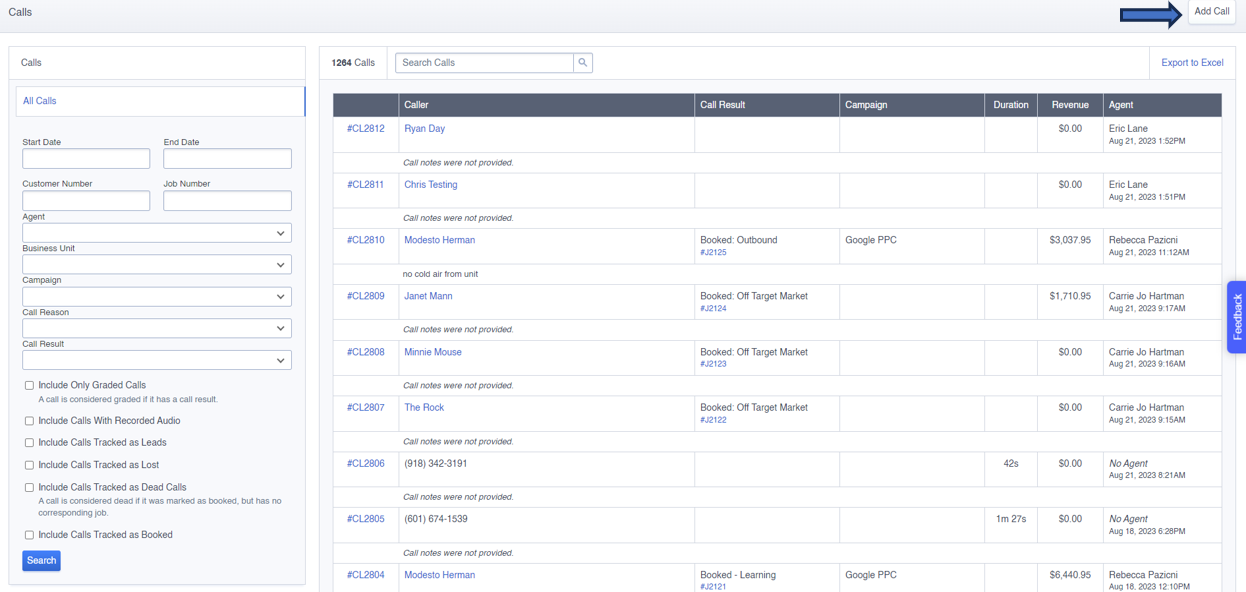
At the top of the page, you can do a call search using specific details like the call number or name of caller. If looking for a specific call by caller name or call number, simply type the details in the above search bar and click the magnifying glass to search calls using those specific details.
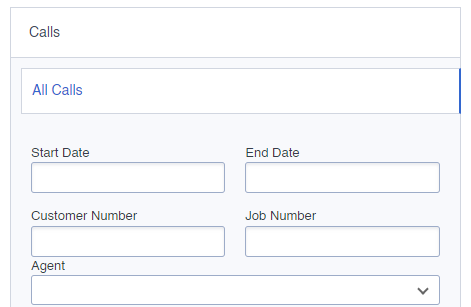
You can also utilize the filters on the left-hand side of the screen to search through your calls using specific parameters more thoroughly as listed below.
You can filter your list of calls by a specific date range by entering a date range in the Start Date and End Date fields. You can also pull up calls tied to a specific customer or job number, as well as calls booked by a particular agent.
You can also filter your calls by the advertising campaign attributed to the call, as well as by the reason and results of the calls.
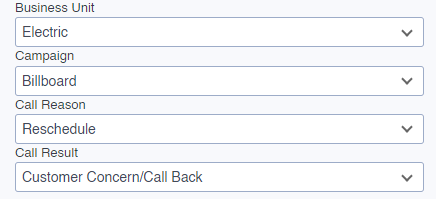
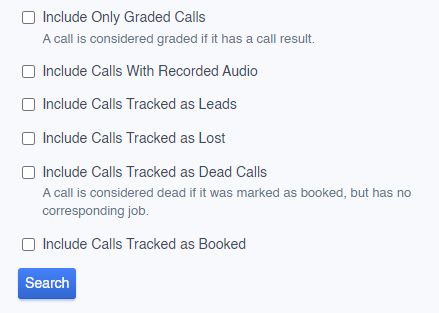
You will also be able to filter calls by whether it is a graded call (I.e., has a call result completed) and set it to only include calls that have recorded audio.
Finally, you can also filter your calls by how they are tracked. The calls can be tracked by whether the call ended up with a lead, whether it was a lost or dead call, as well as whether the call was marked as a booked job. Once you have your desired parameters with which you would like to search your calls, you will simply click the blue button marked “Search” to do a filter search of your saved calls.
Once you have located a specific call, you can open the call itself to view more details such as the call recording and call result, as well as make specific edits to the call itself. To open the Call Details page for a specific call, click on the blue hyperlinked call number to the left of the caller's name.

Once clicked you will be taken to the Call Details page for that specific call. If the call was not linked to a specific job when it was created, you will see a blue button at the top right marked “Add Job” where you can create a job linked to this existing call.
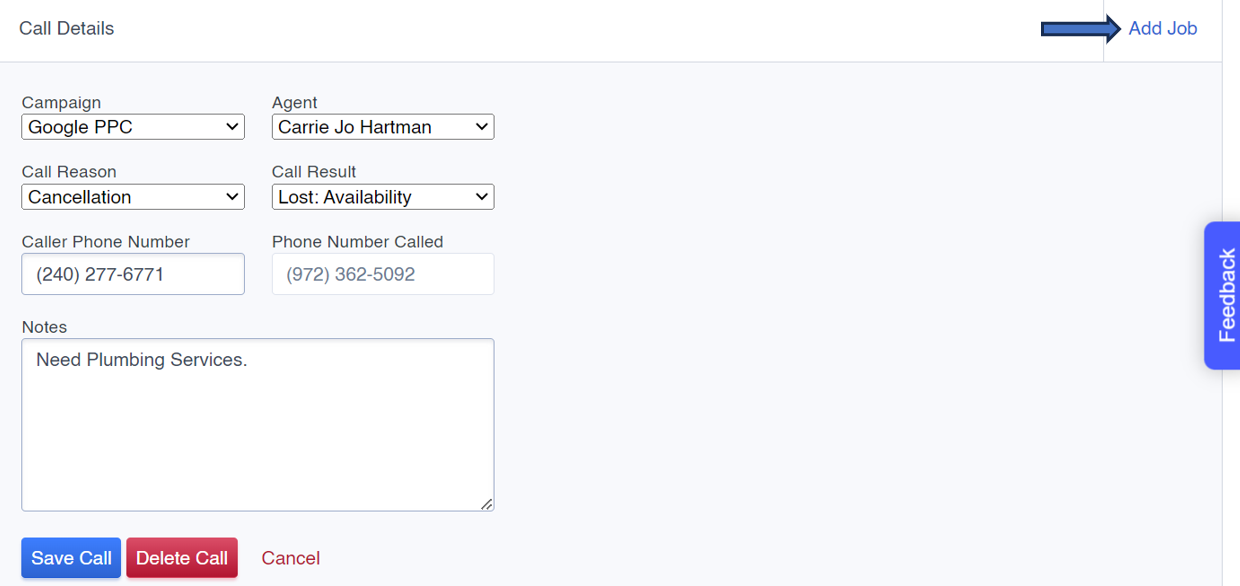
On the Call Details screen, you can add or edit specific details for the call. Once changes have been made you will save the edits by clicking the blue button marked “Save Call”. You can also delete a call from your system here by clicking the red button marked “Delete Call”.
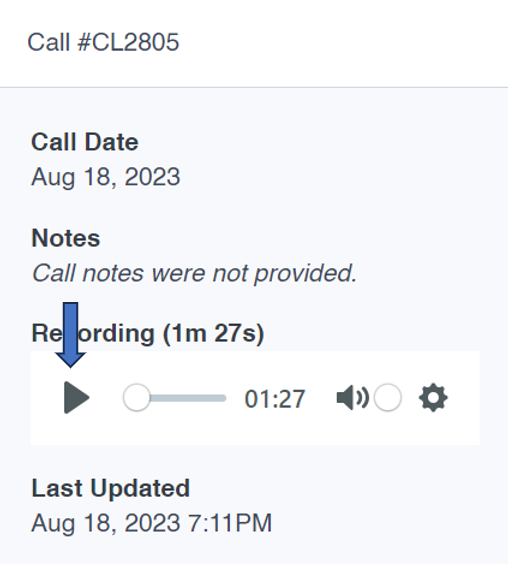
A call's audio can also be viewed on the Call Details page on the left if it has been recorded. A recording window will appear in this section, where you can listen back to the recording by clicking on the play button.
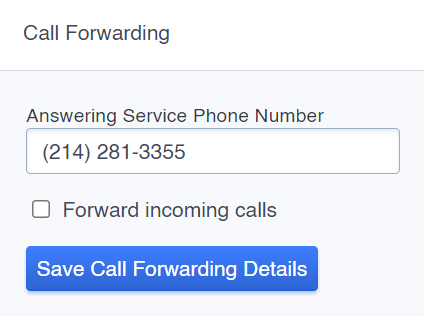
Using an answering service to forward calls is possible by setting it up below the call filter options at the bottom left of the screen. In order to save changes made here, simply click the blue button marked "Save Call Forwarding Details" once the call forwarding details have been entered.
For further reference, you can also export a list of calls in a Microsoft Excel format by clicking the blue hyperlinked button marked “Export to Excel” at the top right of the page.