Steps to Download Reports from Successware
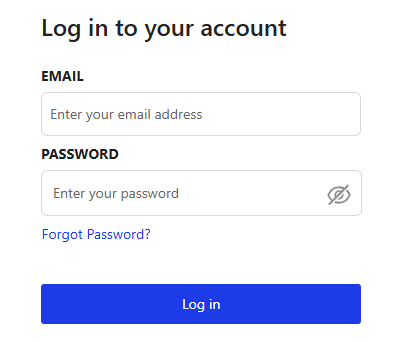
Use your email and password to log into Successware. Once logged in, locate the hamburger dropdown menu at the top left corner.
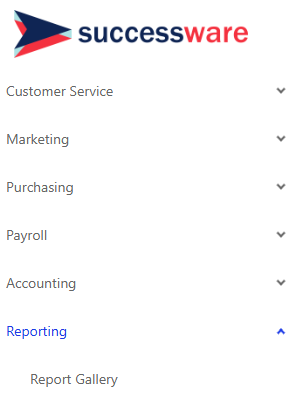
In the hamburger dropdown, select “Reporting” and then choose “Reporting Gallery” from the options.
Navigate to the Master List
In the Reporting Gallery, click on the Master List tab.
Select Service Location List to access customer data.
Configure Filters
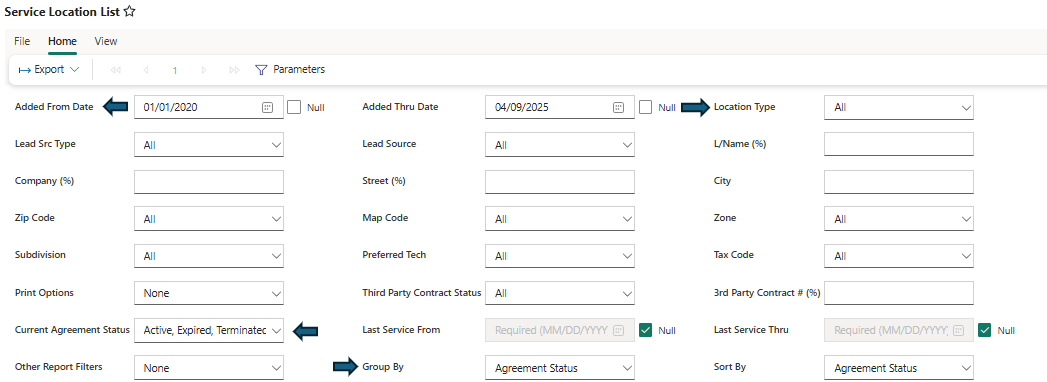
Update the filters as follows to ensure all customer records are included:
Added From Date: Set to the earliest date available to capture all customers.
Location Type: Set to All.
Current Agreement Status: Select All (Note: this filter must be manually adjusted).
Group By: Set to Agreement Status.
Generate and Export the Report
Click View Report in the top right corner.
Once the report loads, hover over the Home icon and select Export.
Choose CSV or XLSX (MS Excel) as the export format.
Save the file using a clear and descriptive name, such as: CustomerList_Successware_2024.xlsx.
Navigate to the Sales Invoice Item Report
In the Reporting Gallery, scroll down and select the AR Invoice Reports section.
Click on Sales Invoice Item to access invoice data.
Configure Filters
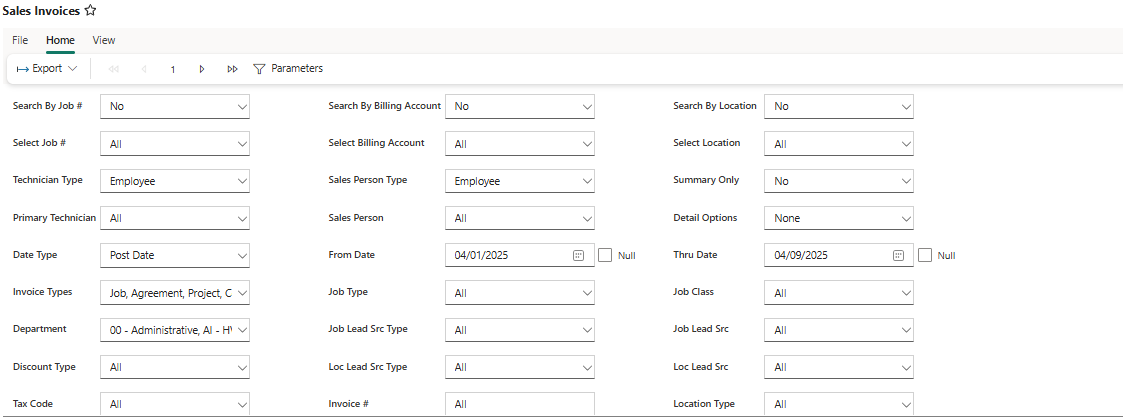
Update the filters as follows to ensure complete invoice data is captured:
Date Type: Set to Post Date.
Date Range: Select a range that goes as far back as your customer list.
All other filters (e.g., Invoice Types, Statuses, etc.): Set to All.
Generate and Export the Report
Click View Report in the top right corner.
Once the report generates, hover over the Home icon and choose Export.
Select either CSV or XLSX (MS Excel) as the file format.
Save the file using a descriptive name, such as: Invoice_Report_Successware_2024.xlsx.
Troubleshooting:
If you encounter any issues while generating or exporting reports, please contact Successware support or consult their help resources for further assistance.
