Applies to all internal employees who manage prospect or customer mailing lists for a specific company within the Stochastic Marketing App.
The Company-Specific Do Not Mail Upload feature allows you to submit a list of addresses that should be excluded from mailings for a single company only.
When a file is uploaded, the system attempts to match the provided addresses to existing customer or prospect records for that company and updates their status to “Do Not Mail.”
⚠ Important: This process does not update the Global Do Not Mail list under Administration → Stochastic. The Global list blocks mailings across all companies, while this upload applies only to the company account you are working in.
Access to Hub+ with permissions to use the Stochastic Marketing App upload functions.
A properly formatted file (CSV or Excel) containing the following fields:
Name
Address
Address2 (if applicable)
City
State
Zip
Ensure your file contains only the required fields listed above.
Verify all addresses are accurate to avoid excluding the wrong records.
Save your file in CSV or Excel format.
Log in to Hub+ and access the specific account you would like to submit a do not mail list.
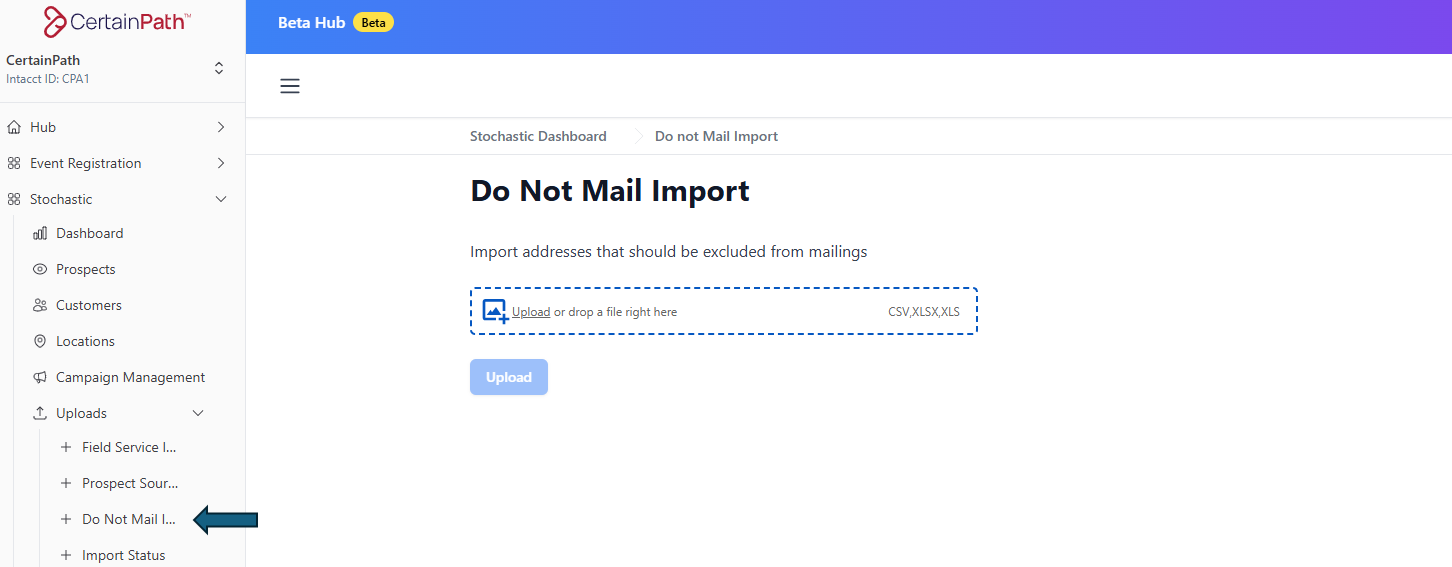
Open the Stochastic Marketing App.
Go to the Uploads section.
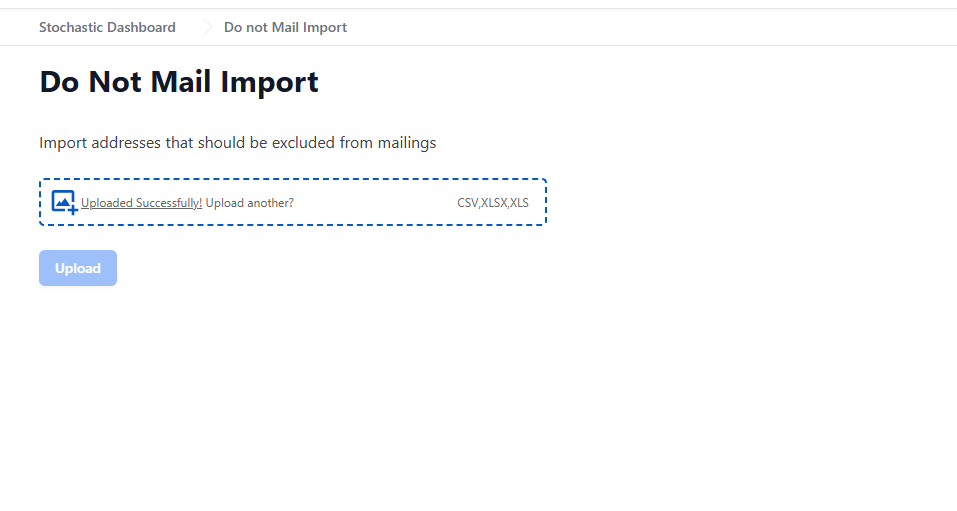
Select the Do Not Mail Import option.
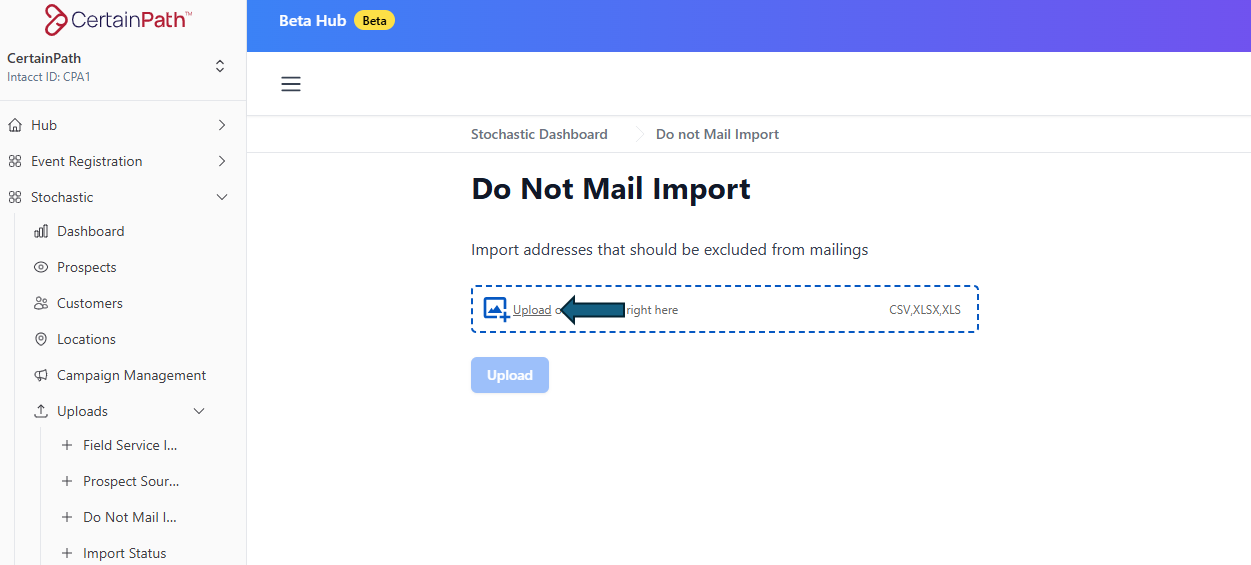
Click Upload File.
Select your prepared file from your computer.
The system will load the file into a temporary table.
The system will compare your uploaded addresses against existing prospect and customer records.
The results will display in a non-editable table.
A Matched status will appear next to records that successfully matched an existing record.
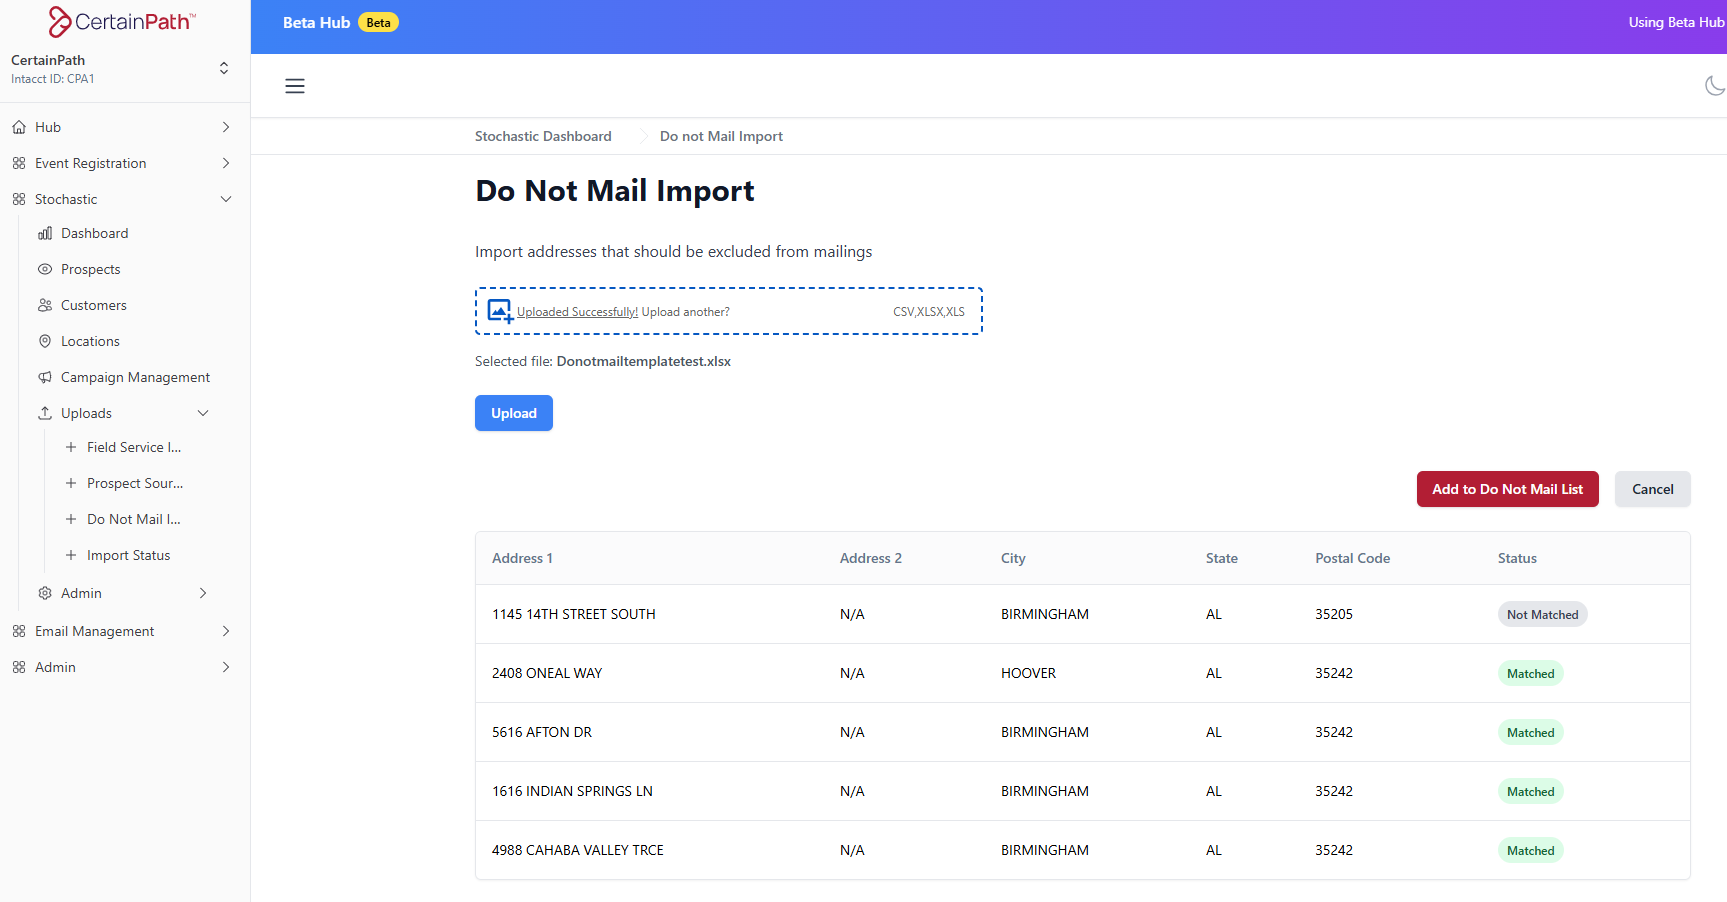
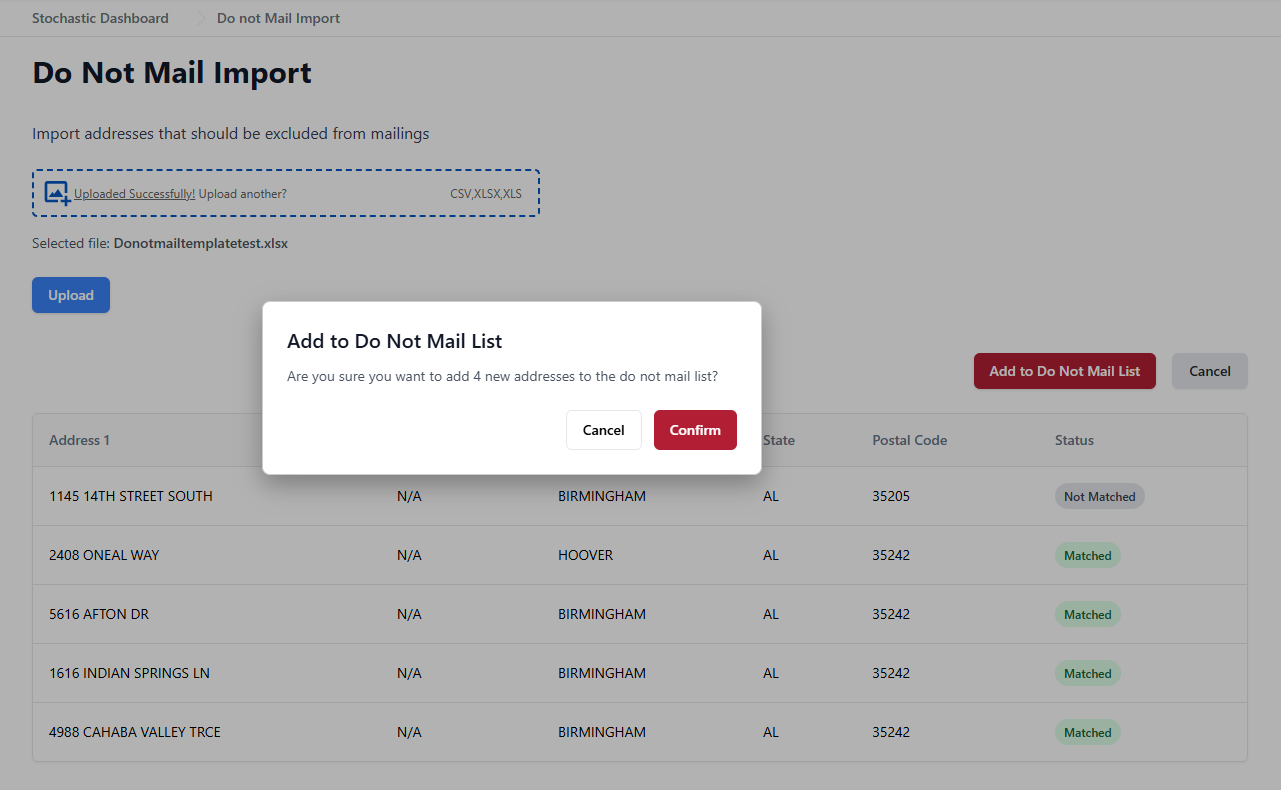
If you want to add the matched addresses to the Do Not Mail list:
Click Add to Do Not Mail List.
The system will update the matched records to exclude them from mailings.
A confirmation toast message will appear: "Do Not Mail list successfully updated."
If you do not want to proceed:
Click Cancel.
A confirmation dialog will appear: "No Do Not Mail addresses have been added."
Confirm to return to the previous screen.
Data in the uploaded table cannot be edited within the system.
If incorrect data is uploaded, you must:
Correct the file
Re-upload before confirming.
Double-check your file before upload to avoid accidentally excluding valid addresses.
Maintain a master “Do Not Mail” file internally for tracking.
Coordinate with marketing teams to ensure exclusions are respected across all channels.
If you encounter issues:
Contact: [email protected]
Include:
A copy of your uploaded file
The date and time of the upload
Any error messages received
