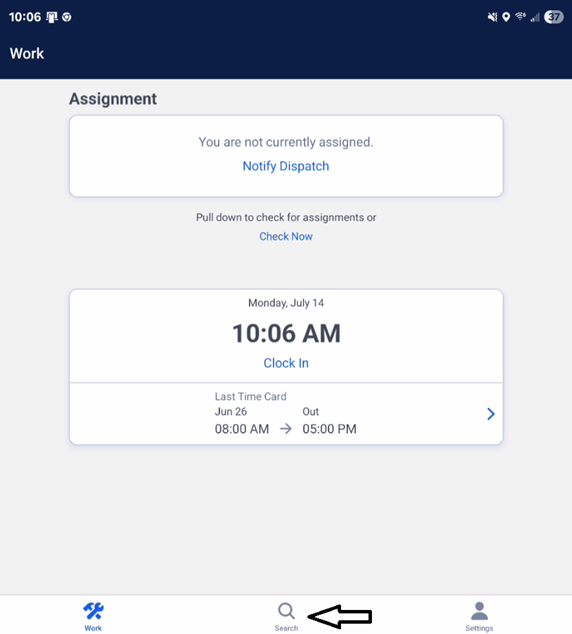
Navigate to the Task Bar and click on “Search”.
Add a New Customer (if needed)
• Look for the person icon with a plus sign in the upper right-hand corner.
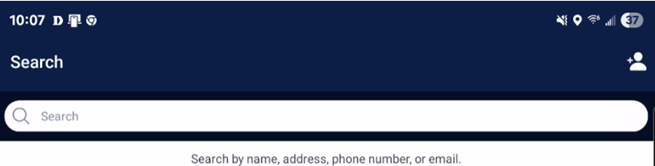
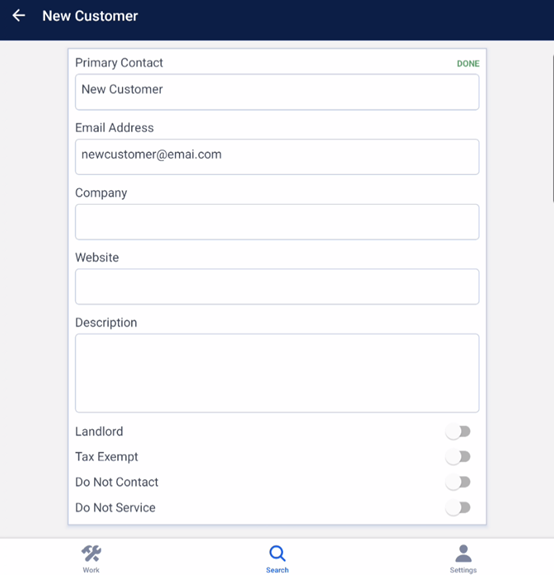
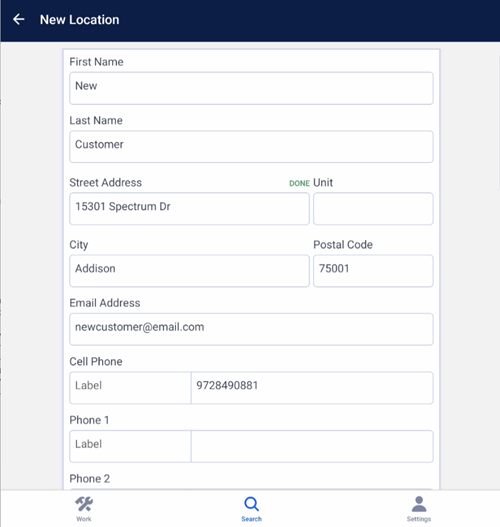
Click on the icon and complete the required customer information, then select Save.
Note: While not required, always ask the customer for their email address. This is the only way they will receive a job confirmation via email.
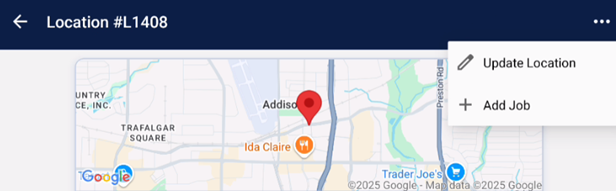
Click the three dots at the top and select “Add Location”.
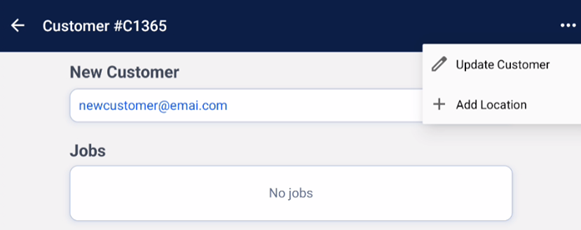
Fill in the required customer address information:
• Street Address
• City
• Postal Code
(Optional) Add a cell phone number – not required, but customers will only receive text dispatch confirmations if a number is provided.
Click “Save”.
Click the three dots again and select “Add Job”.
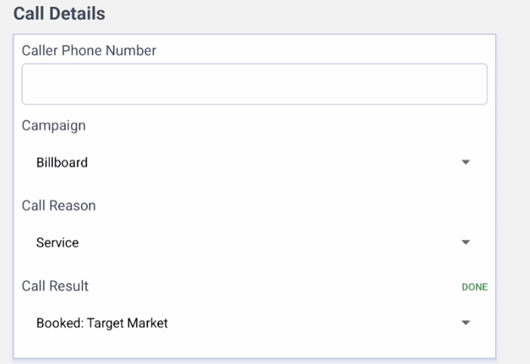
Complete the Call Details:
Campaign – How did the customer hear about the business?
Call Reason – Why is the customer calling?
Call Result – Select Booked: Target Market
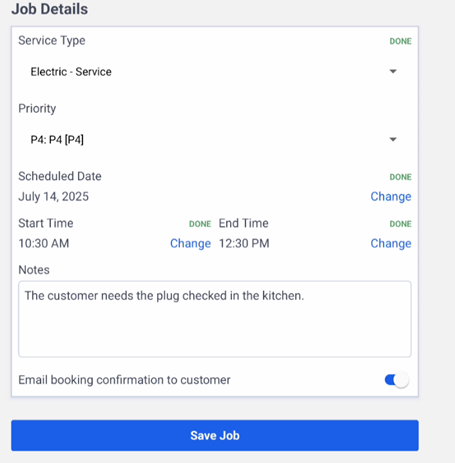
Next, complete the Job Details
Service Type – What service does the customer need?
• Priority – How important is it that this job is completed today?
• Scheduled Date – What date would the customer like the service?
• Start and End Time – What time are you available to schedule the job?
• Notes – Include any specific details about what the customer needs done.
• Email Booking Confirmation – If an email address was provided, send a confirmation.
Click “Save Job”.
Click the three dots on the right-hand side and select “Add Assignment”.
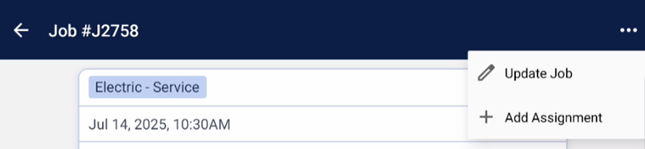
This action:
• Makes you the technician for the job.
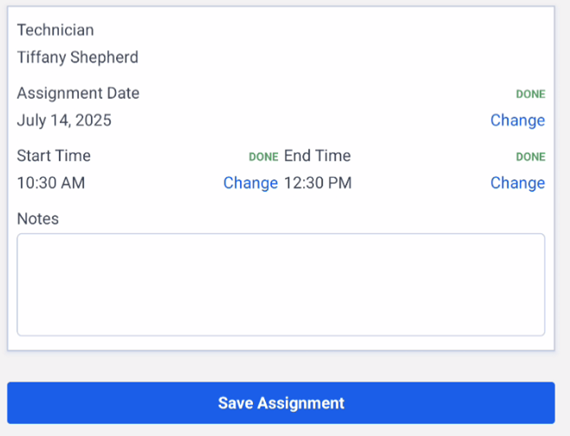
• Allows you to adjust the date and time, if needed.
Click “Save Assignment”.
Note: You can only create and dispatch assignments for yourself, not for other technicians.
If you're ready, you can dispatch yourself to the assignment and you can also choose to notify the customer.

You have now successfully been dispatched and notified your customer of your upcoming arrival.